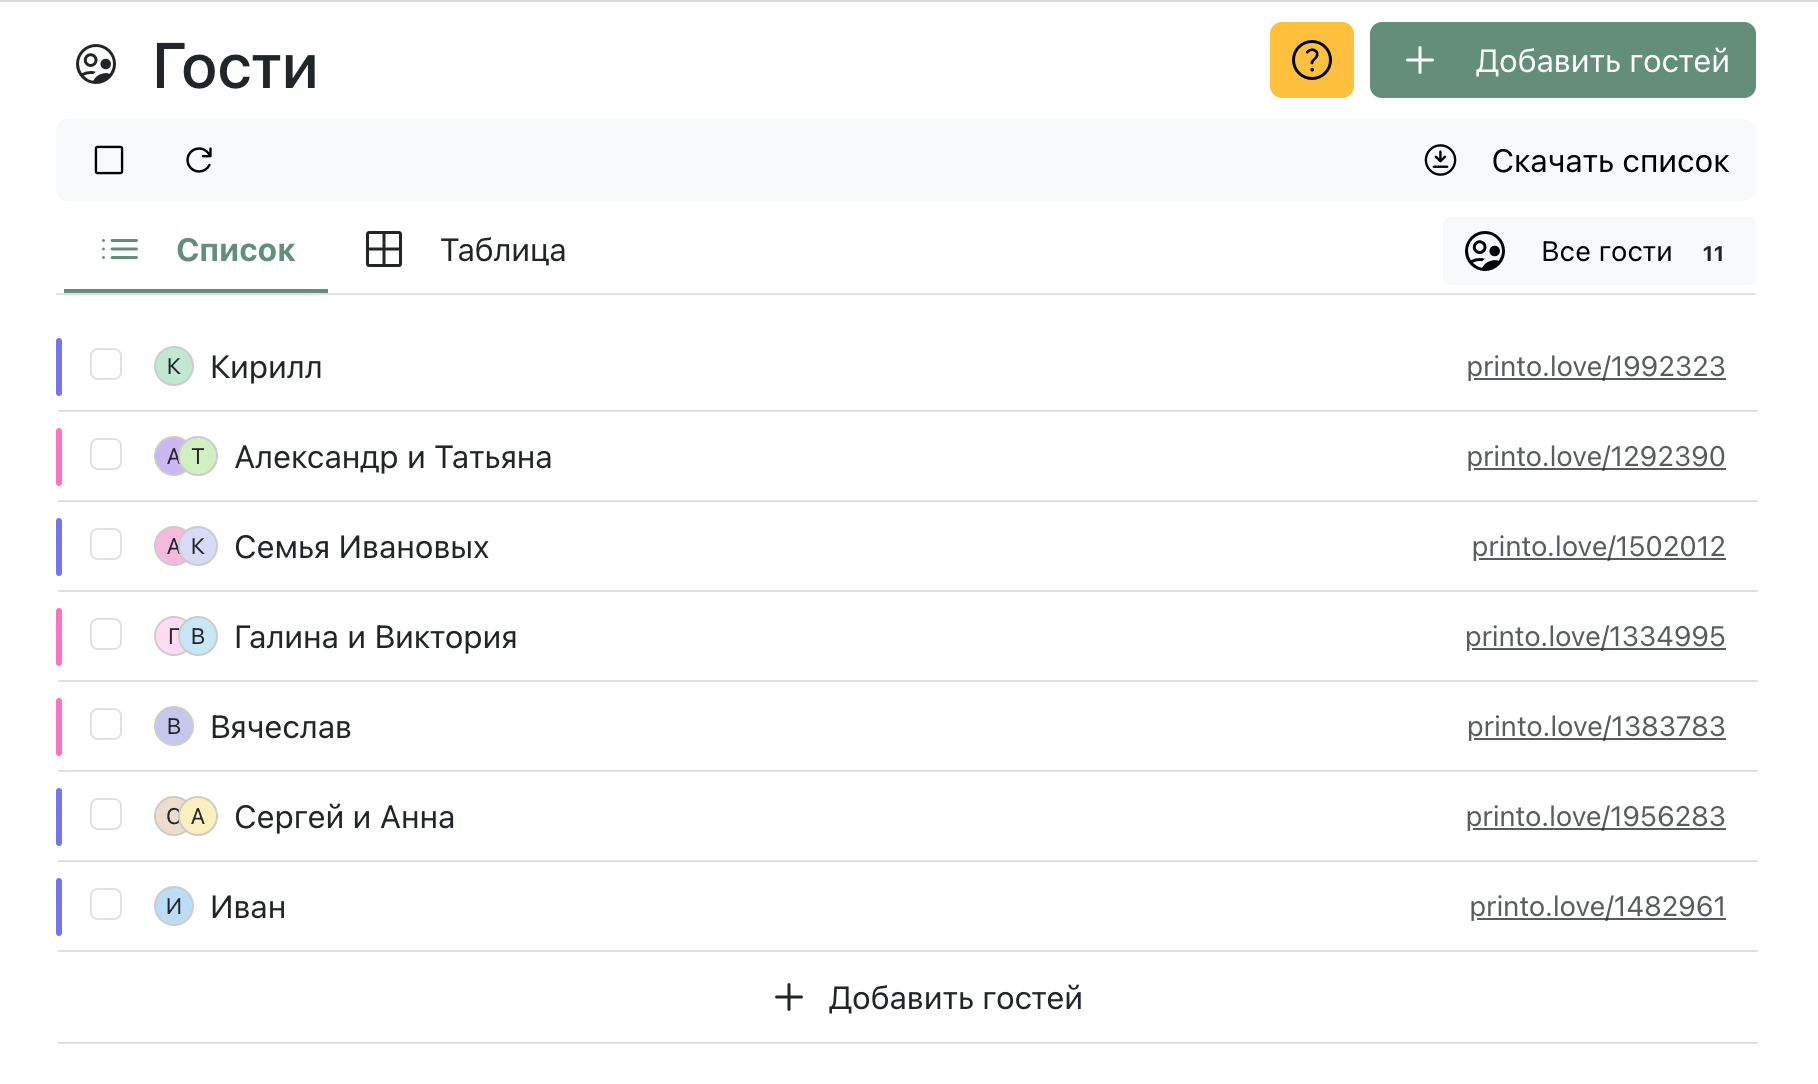
The main area of the "Guests" section consists of a guest list. For the purposes of this documentation, the guest list will be displayed as a list. However, you can switch it to a table view. The functionality remains unchanged, only the display format changes - all data is presented in a large table.
The primary space on the page is occupied by the guest list. Above it is the toolbar, and below it are statistical data.
 Guest Section
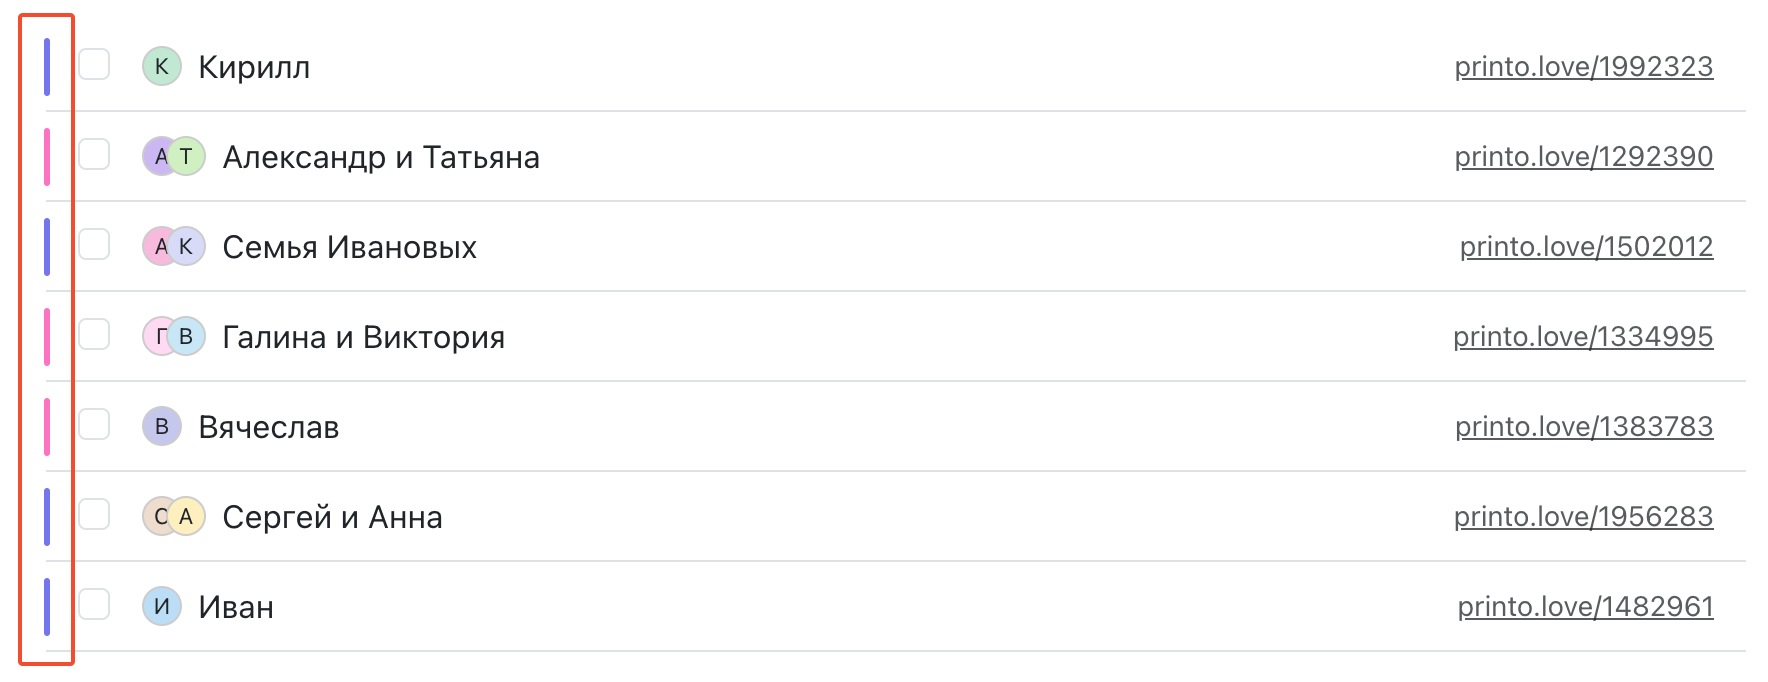
Each row in the list represents a separate invitation. Rows are color-coded to indicate whether guests are from the groom’s side (blue) or the bride’s side (red). If an invitation has notes, it is marked with a black triangle. Notes and guest roles are not mandatory fields.
 Color-coded Invitations
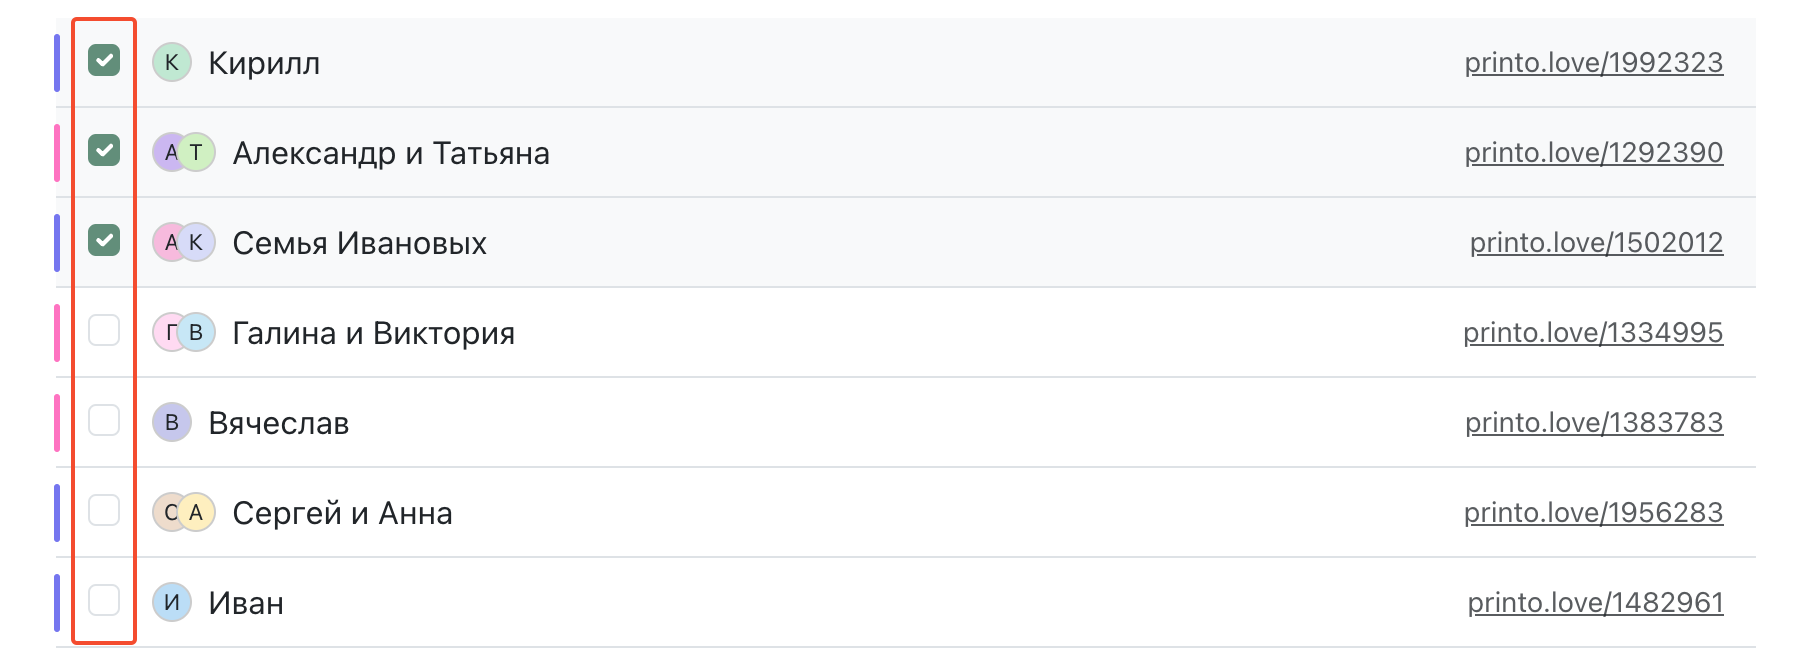
To the right of the color coding is a checkbox that allows you to select multiple rows to apply changes to many invitations using the toolbar.
 Selection Checkboxes
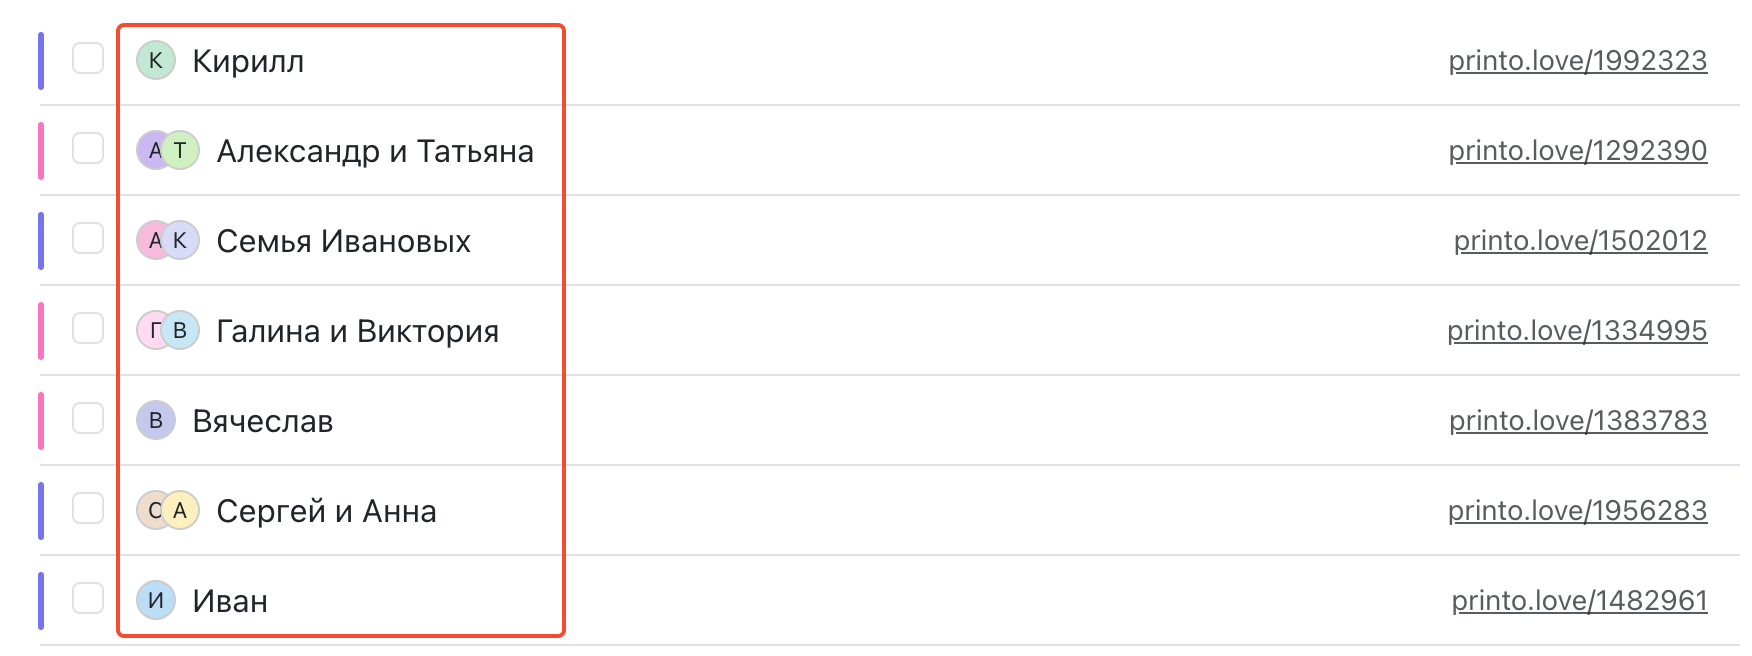
Next to these checkboxes are the guest avatars. The number of avatars indicates how many people are included in each invitation. The avatar shows the first letter of the guest's name, and the avatar color is chosen randomly.
 Guest Avatars
Next to the avatar is information about who we are inviting. Clicking on the text opens the invitation editing window.
On the right side of each invitation is a link to the online invitation.
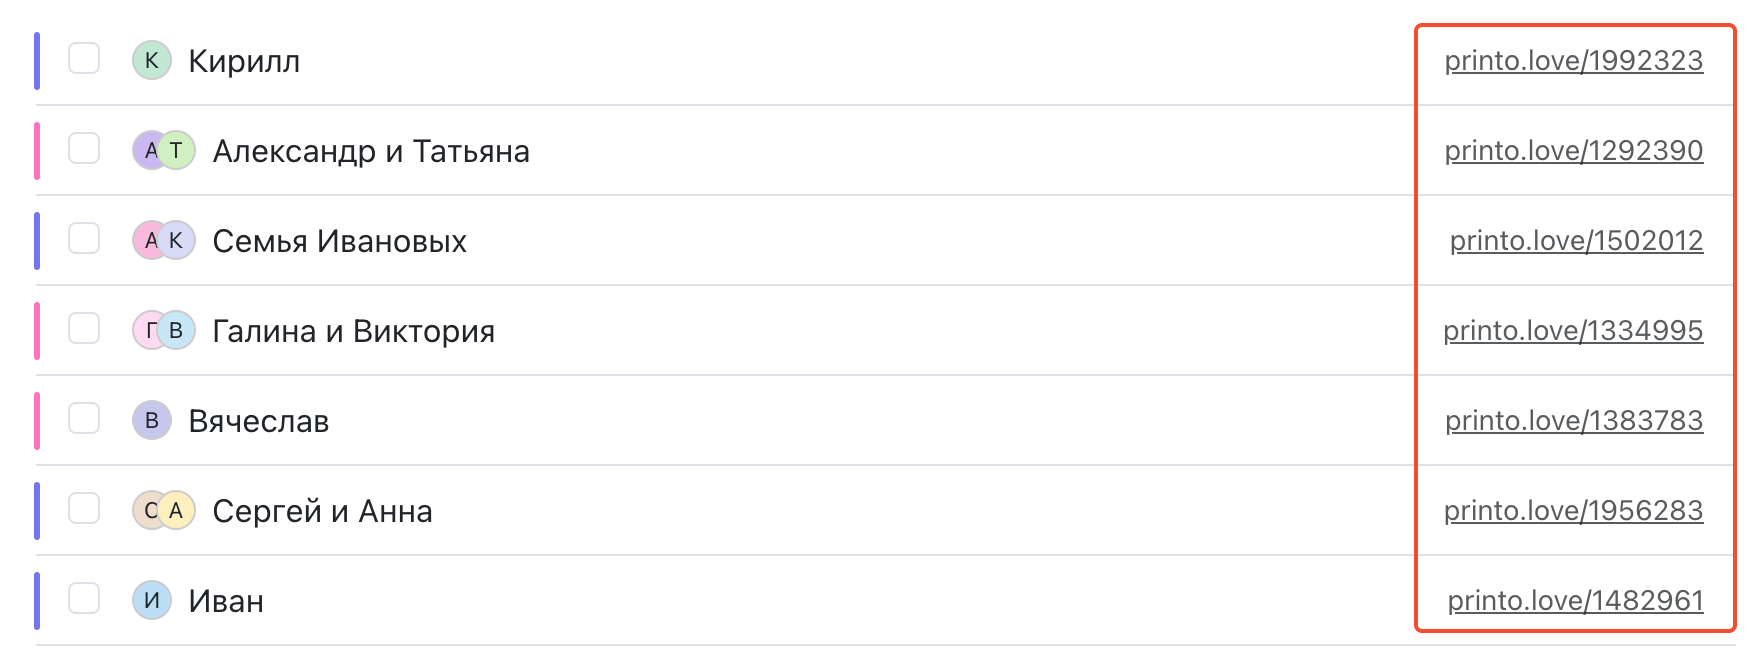 Online Invitation Link
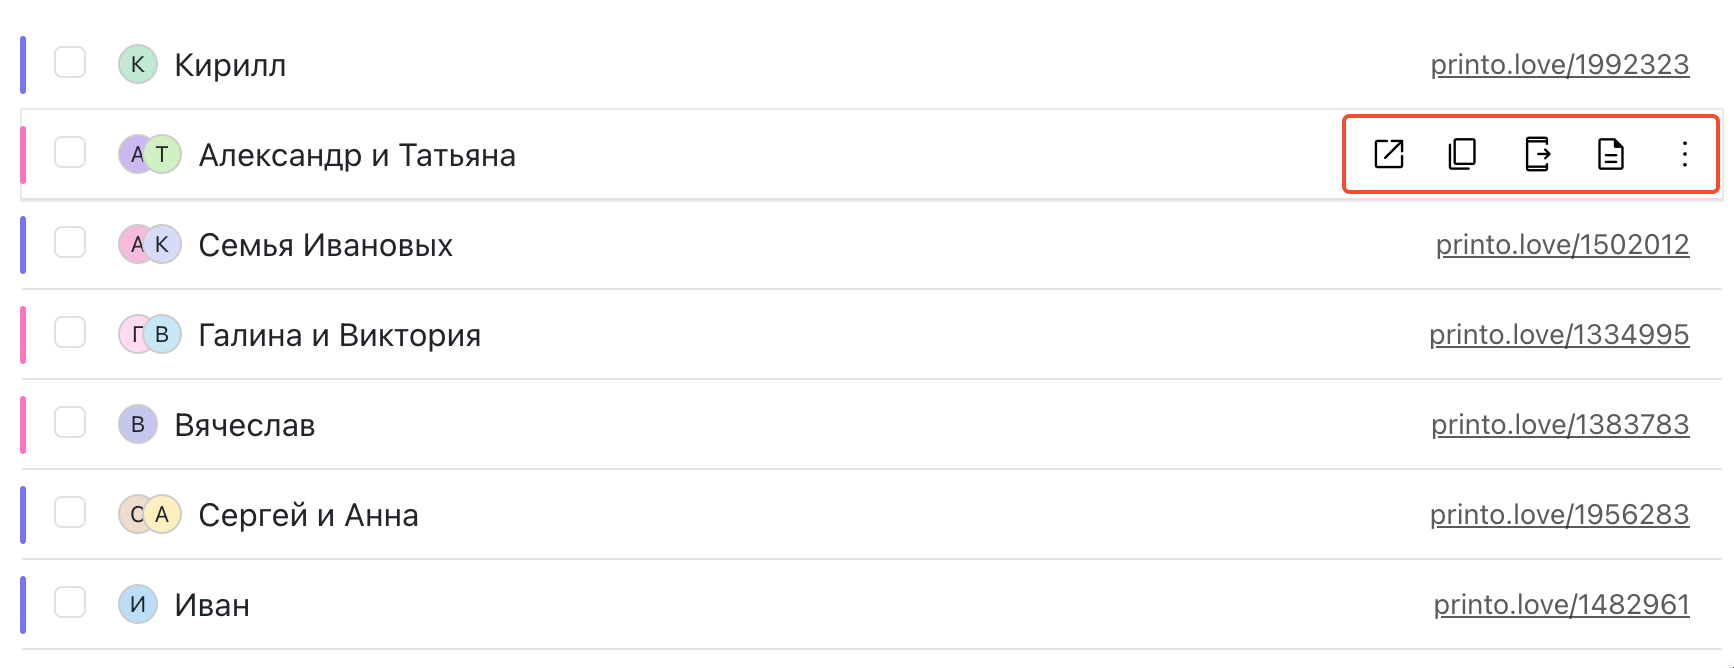
If you hover your cursor over a row, action buttons for that invitation replace the link. On mobile devices, all these actions are available through a dropdown menu accessed by a three-dot button.
 Invitation Action Buttons
Next to the online invitation address is an icon that shows whether the guest has opened the invitation. Attendance confirmation is displayed in the "Banquet" section. The following buttons are available on the toolbar:
- Open: Opens the online invitation. If opened on the same device and browser, it will not be marked as opened. This allows you to check the online invitation before sending it to the guest. However, if opened in another browser or on another device, it will be marked as opened.
- Copy Link: Copies the online invitation link to the device's clipboard. You can then paste this link into any application, such as a messenger, to send it to a guest.
- Show Invitation File: Displays the invitation file. You can perform various actions with the file, such as sending it to a mobile device or editing it. For more details, refer to the "All Files" section.
- Send to Phone: Sends the online invitation link to your mobile device. Instructions for sending to a phone are given in this section.
- Show Link (mobile devices only): Displays the online invitation link for easy copying or opening in a new browser tab.
- Select Template: Allows you to select a template for a specific row. This is useful if you need to create a distinctive invitation, program, information sheet, or dress code for certain guests. For example, some guests might only be invited to the formal ceremony, while others are invited to the banquet. In this case, you can create specific files for each group of guests. These files will be shown in the online invitation. For further details, refer to the "Design" section.
Sorting the Guest List
Above the main guest list is a button on the top right that allows you to sort by the side of the guest - groom’s side or bride’s side.
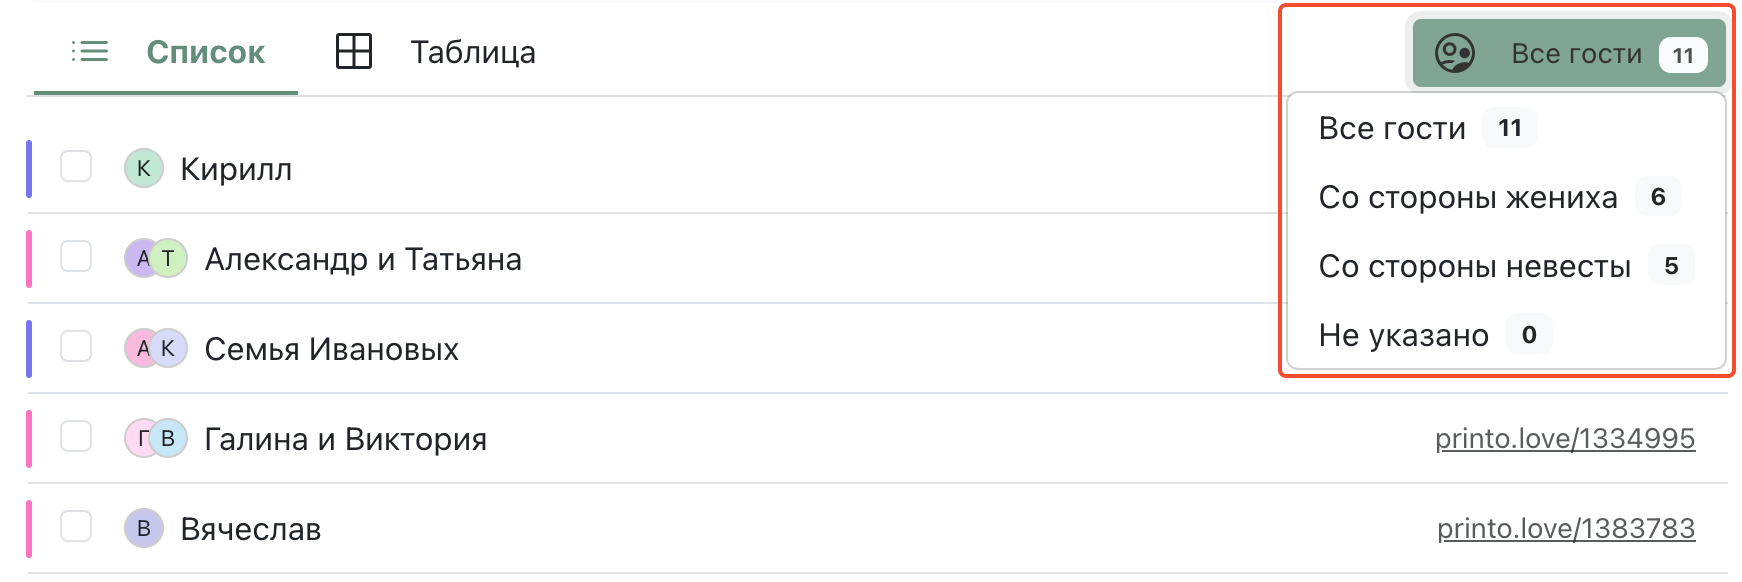 Sorting Invitations
The same dropdown menu shows the number of guests invited from each side. For accurate functionality, it is important to correctly fill in the "Guests Individually" fields when adding guests.
Downloading the List
To download the list in Microsoft Excel format, click the button on the right in the toolbar. An XLSX table will be generated within a few seconds and downloaded to your device.
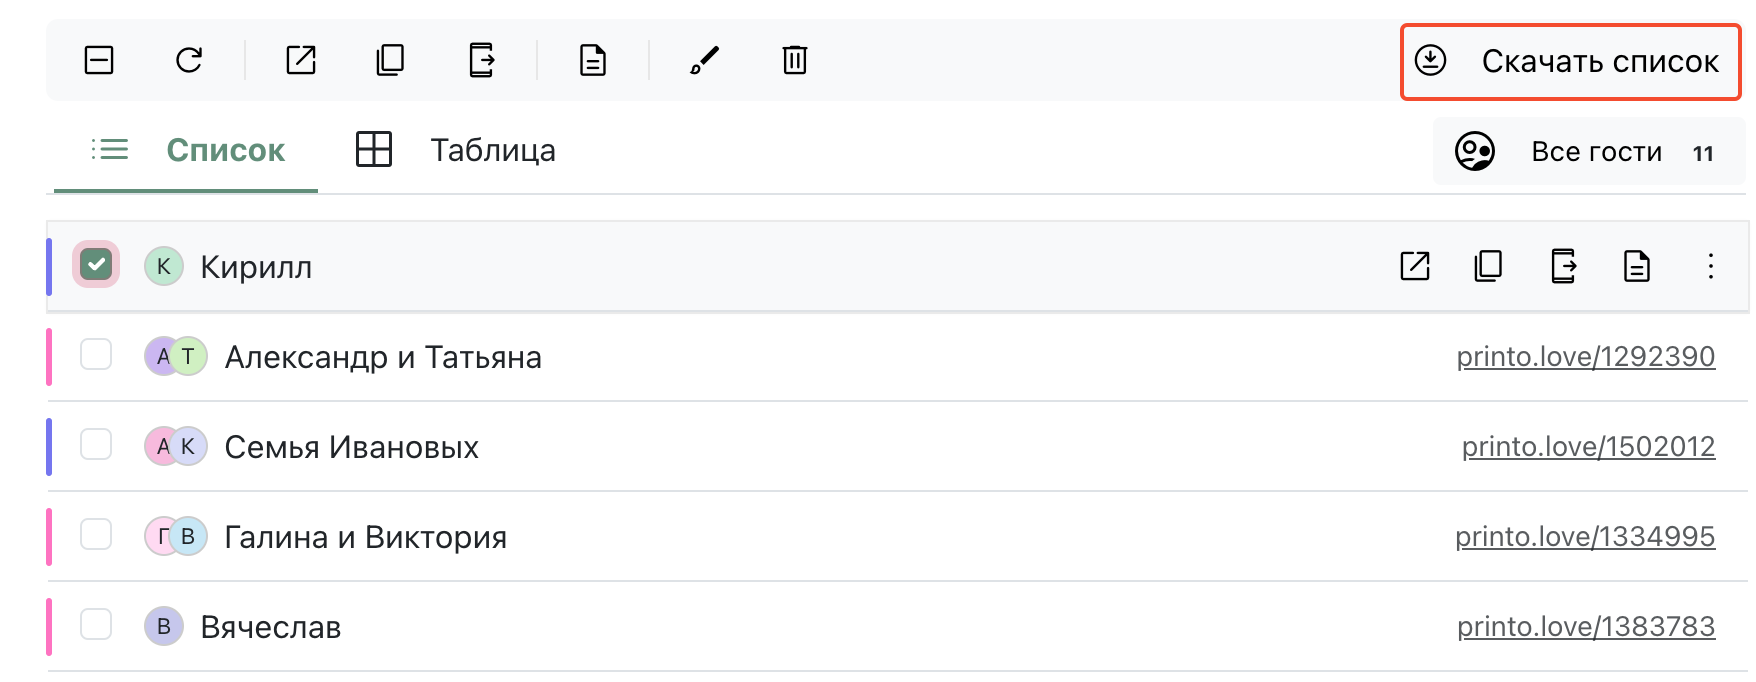 Download List Button
The table includes all the data, including links to the online invitations. It can be useful for printing, sharing with others, such as wedding organizers, or for sending invitations from another device.
Using the Toolbar
Various actions can be performed on each row using the buttons that appear when hovering. Additionally, if you check the invitation’s checkbox, control buttons will appear on the toolbar.
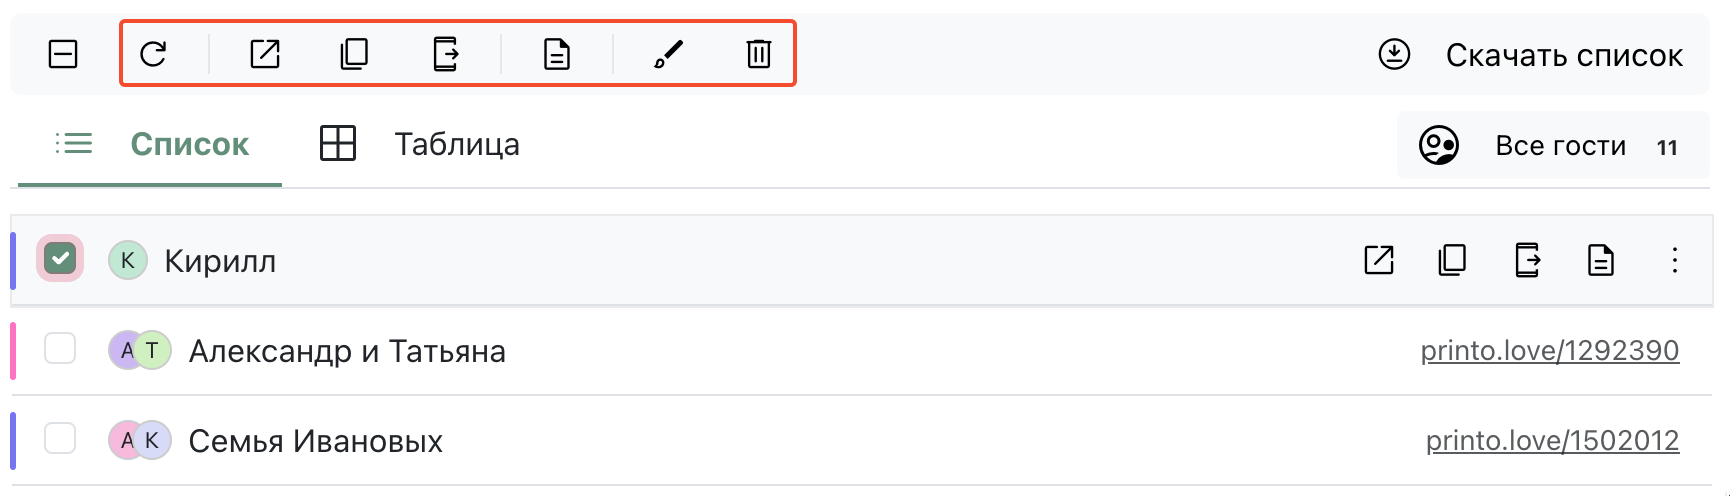 Toolbar Buttons
If multiple rows are selected, actions are applied to all selected rows.
Selecting All Invitations
To select or deselect all invitations, click the checkbox on the toolbar.
 Select All Invitations
Bu mövzuda daha çox
Kömək lazımdır?
Bizə e-poçt vasitəsilə v@printo.love yaza bilərsiniz və sizə məmnuniyyətlə kömək edəcəyik!